Mail2Order Guide
Welcome to Hyperfox!
This tool helps simplify the order processing workflow by automatically collecting order data and presenting it clearly for your review.
In this guide you will learn where to find all features and how to validate orders prepared by Hyperfox, step by step.
If you have any questions while using the tool, if something seems off, or if anything goes wrong unexpectedly, our support team is here to help. You can always reach us at [email protected].
Table of Contents
- Logging into Hyperfox
- Overview of the "Dashboard" screen
- Getting started: processing orders – step by step
- Overview of the "To Validate" screen
- Overview of the "Validation" screen
- Overview of the "Archive" screen
- Overview of order statuses
- Overview of the "Codex" screen
- Settings
- Logging out of Hyperfox
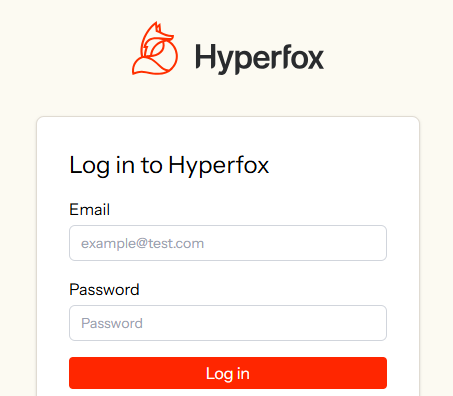
1. Logging into Hyperfox
To log into Hyperfox, use the credentials you receive from the person responsible within your team. You log in with your email address and the password that has been provided to you.
After entering your credentials, you will gain access to the home screen (Dashboard) of Hyperfox, where you will immediately see an overview of the orders that are ready for you.
- Open Hyperfox in your browser.
- Enter your email address and password.
- Click Log In.
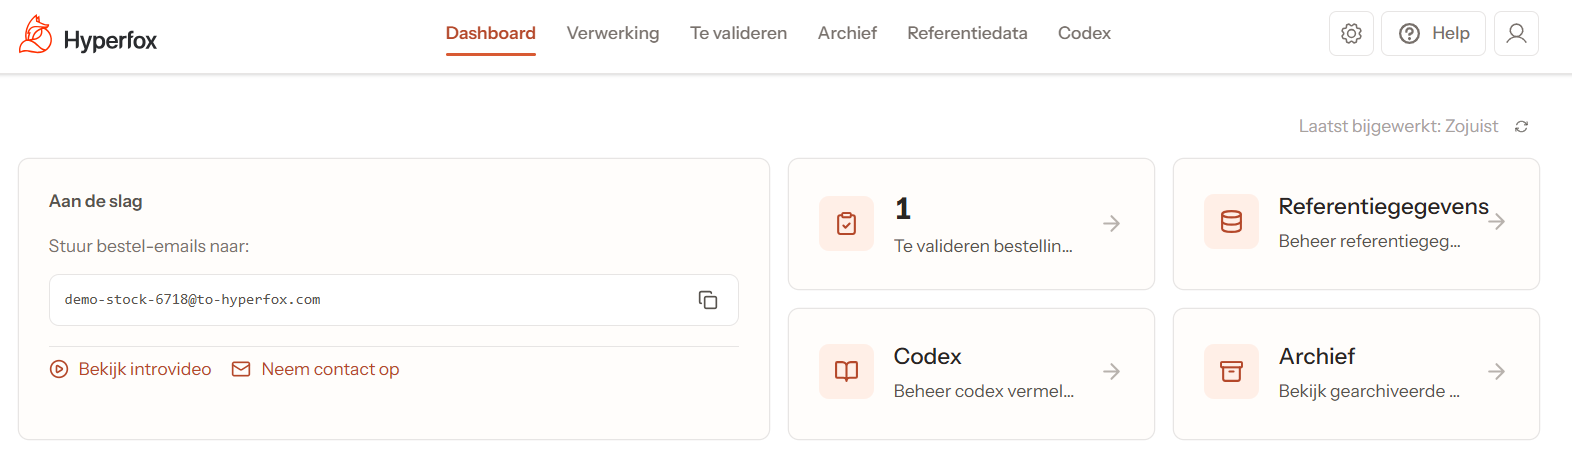
2. Overview of the "Dashboard" screen
After logging in, you will see an overview of all key sections on the home screen.
Order tabs

- Processing: orders that the AI is currently processing.
- To Validate: orders that have been prepared by Hyperfox and are ready for your review.
- Archive: previously validated orders.
- Reference Data: customer and product information used by Hyperfox.
- Codex: approved order data used as context by the AI to process future orders with increasing accuracy and consistency.
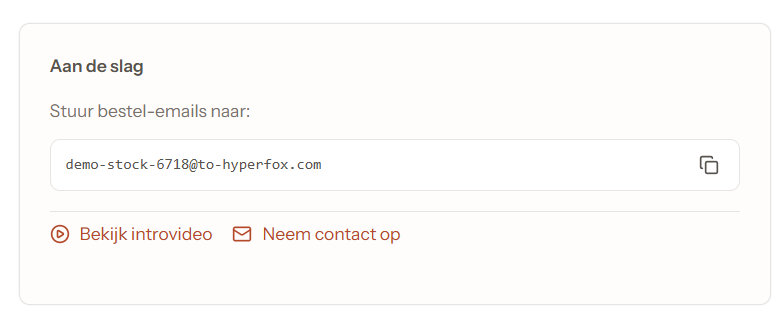
Order email address
- Order email address: the unique email address to which incoming order emails should be forwarded.
- Intro video: a link to a short video explaining the basic features of Hyperfox.
- Support: a direct link to contact our support team at [email protected].
Click the icon on the right to easily copy the order email address.
Dashboard statistics
Right panel: quick overview
- Total orders to validate: a direct indication of the number of orders ready to be validated.
- Quick links to Reference Data, Codex and Archive: quick access without having to navigate through the tabs.
- In the top right you can see when the statistics were last updated.
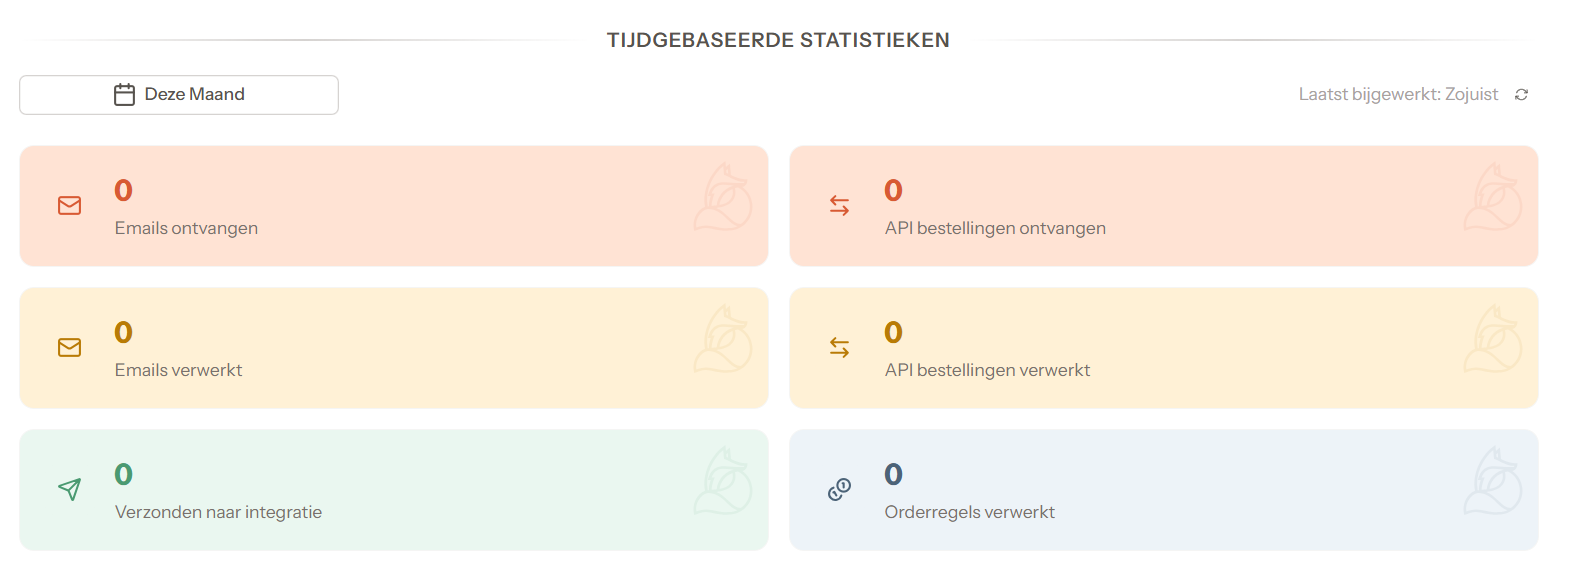
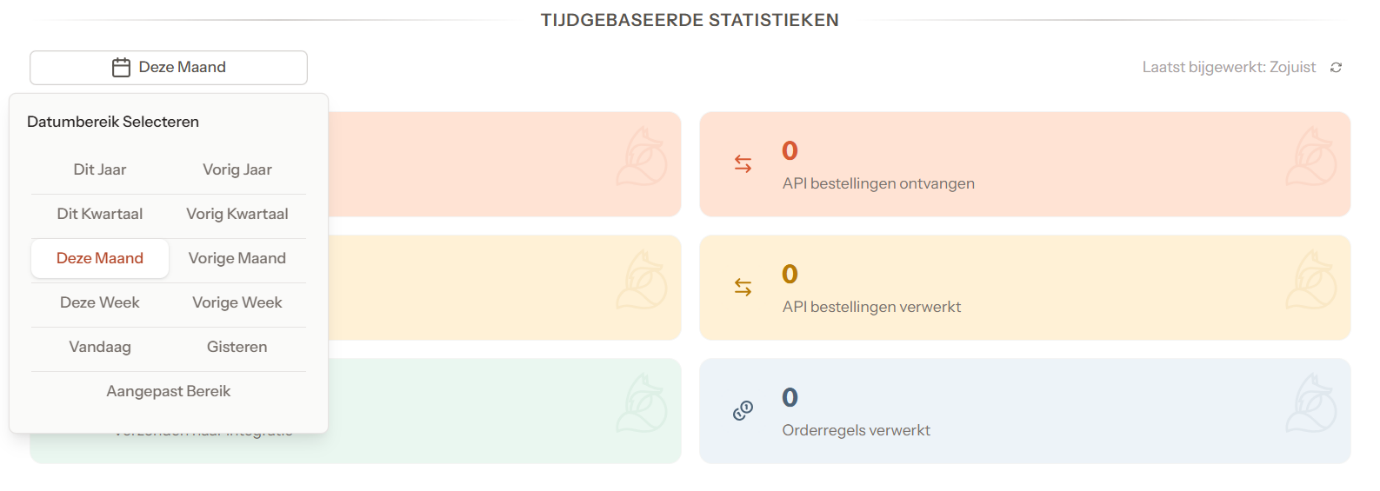
Bottom: Time-based statistics
A quick overview of counts and performance, with the ability to filter by a specific time period.
In the top right you can see when the statistics were last updated.
3. Getting started: processing orders – step by step
Step 1: Send the order email
Send the order email to the unique order email address listed on the Dashboard.
Step 2: Order arrives in the "Processing" tab
As soon as the order email has arrived, the order appears in the "Processing" tab. Here, the order is automatically read and processed by the AI.
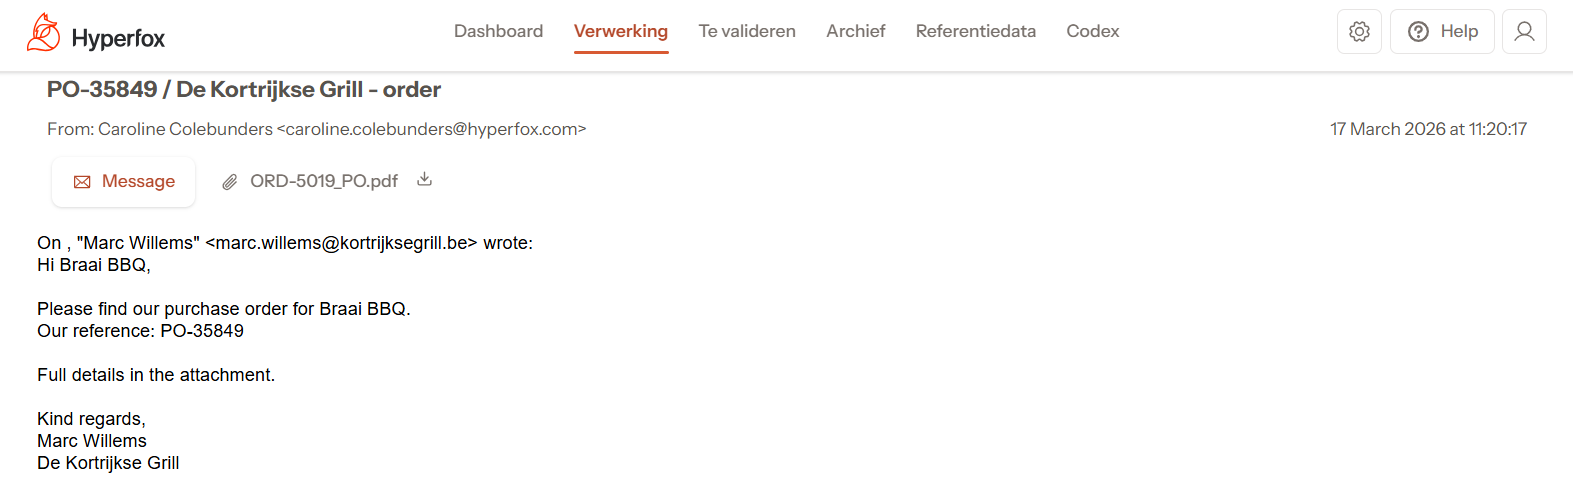
Click "View" if you wish to review the order email.

Click the "Message" tab to review the order email.
Step 3: AI processes the order
Hyperfox processes the order data and prepares the order. During this phase you do not need to do anything; you can follow the status in the "Processing" tab.
Step 4: Order moves to "To Validate"
Once the AI has finished, the order automatically moves to the "To Validate" tab. Here, the order is ready to be reviewed.
The order automatically receives the status "Pending Validation".
Step 5: Validate the order
- Click "Reject" to remove the order. The order automatically moves to the "Archive" tab with the status "Rejected".
- Click "Review" to open the order. Check the data and adjust if necessary (see details in section 5).
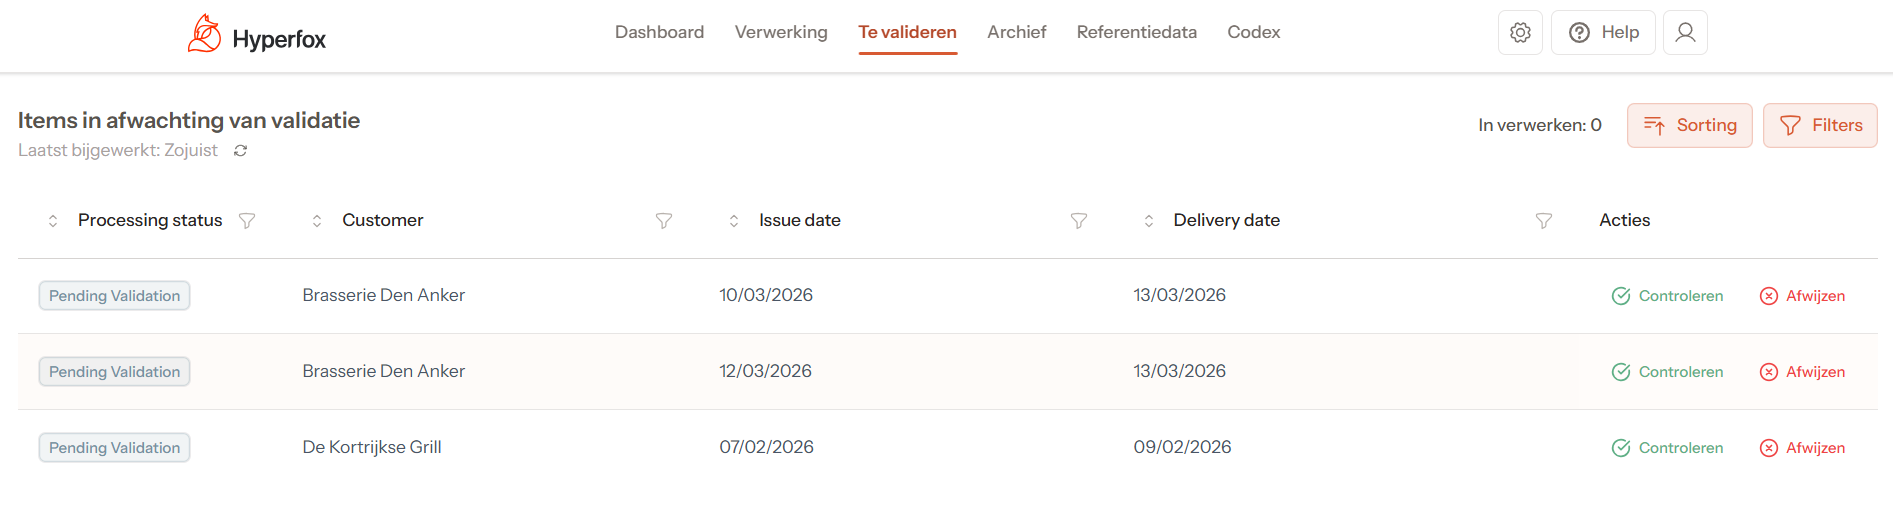
4. Overview of the "To Validate" screen
In the "To Validate" screen you will find all orders that have been processed by Hyperfox and are ready for your review. This is the starting point for your validation work.
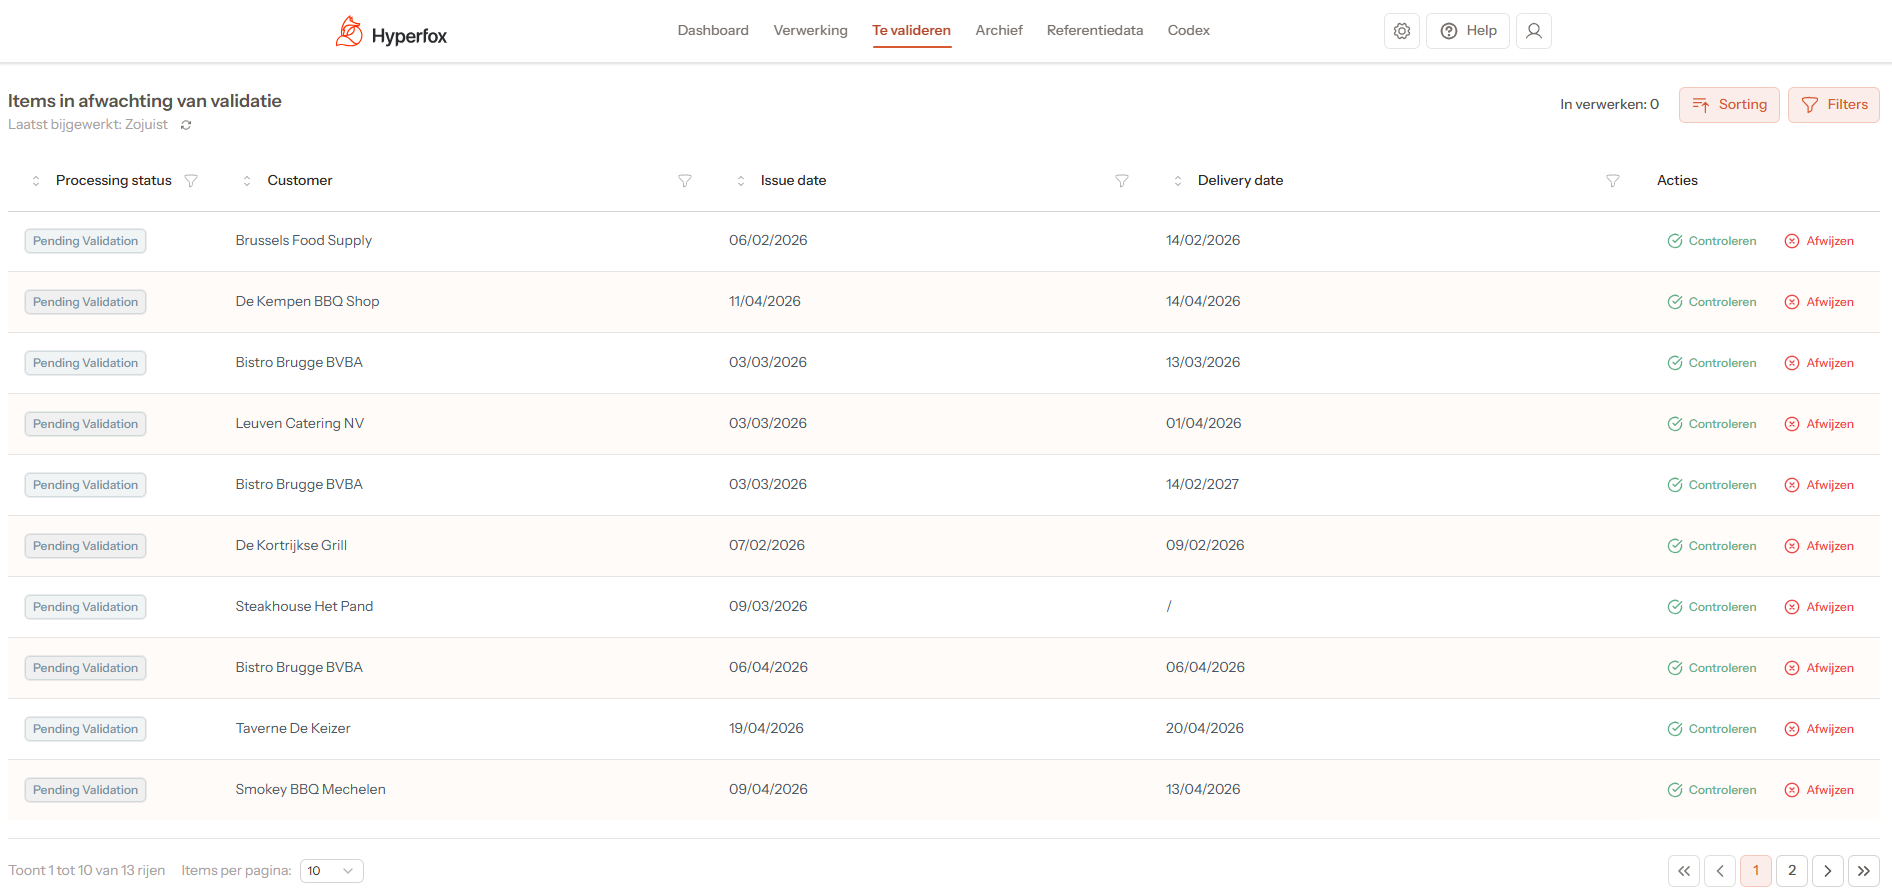
What you see on this screen:
-
List of orders awaiting validation — Each row represents one order, including basic information such as customer, date and status. From this list you can open an order to view and validate the details.
-
Filters and sort options (top right) — You can refine the list by status, customer, delivery date, and more. Useful when you want to quickly find specific orders or prioritise your work.
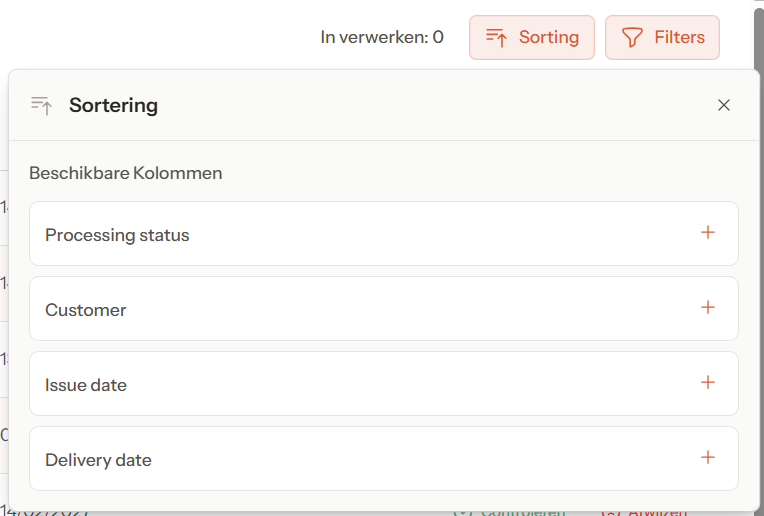
Sorting
Click the "+" icon to activate a filter. It is possible to activate multiple filters simultaneously.
Click the "x" icon or "Clear All" to remove the filter(s).
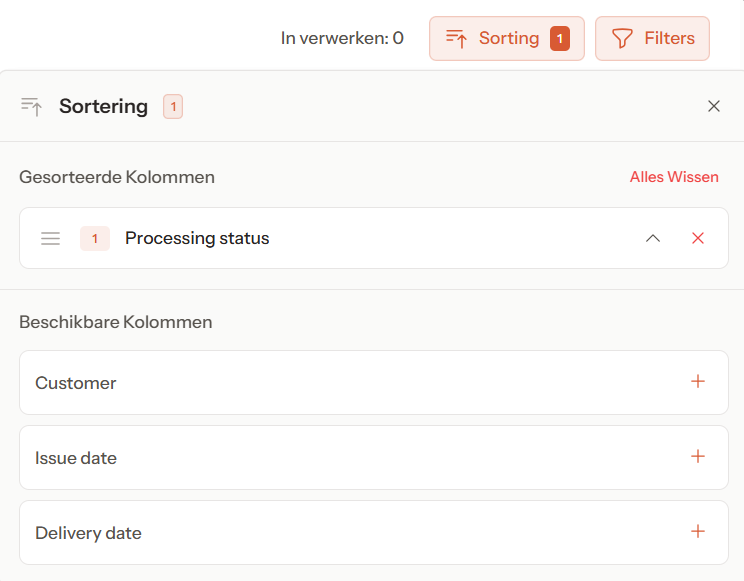
Click the arrow to sort by a specific filter.

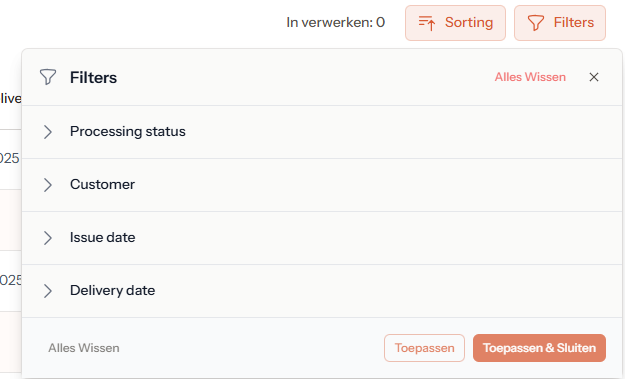
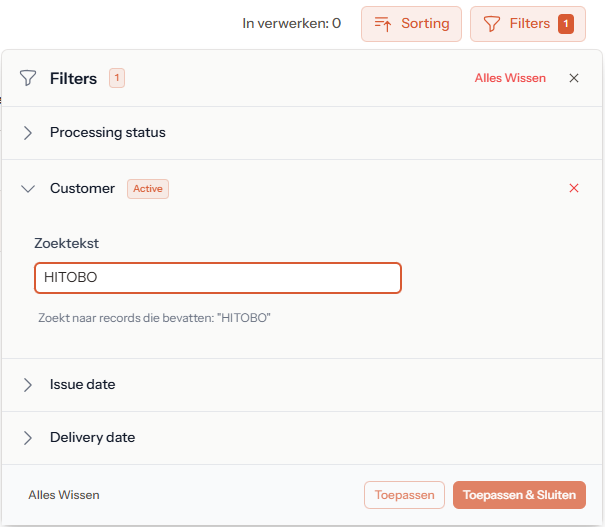
Filtering
Click the arrow next to the filter to configure the filter.
- Click "Apply and Close" to activate the filter(s).
- Click "Apply" to activate the filter and configure a next filter.
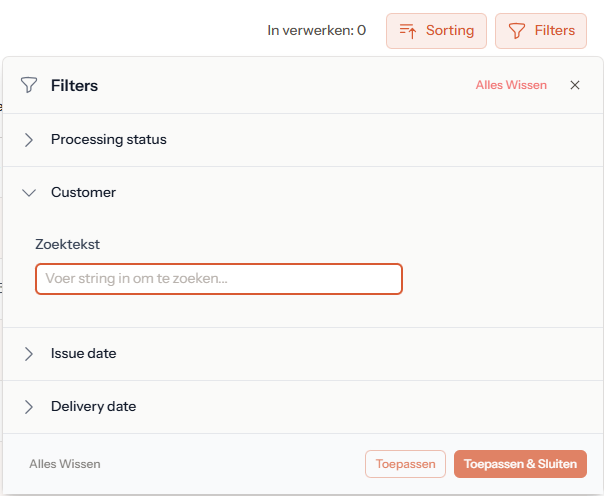
Click the "x" icon or "Clear All" to remove the filter(s).
Navigation
At the bottom you will find buttons to go to the next or previous page when there are multiple pages of orders. This allows you to easily browse through all open orders.
You can also adjust the number of items per page to your preferred amount:

5. Overview of the "Validation" screen
In the validation screen you validate the order that has been pre-processed by Hyperfox. This is the central screen where you can review, adjust and supplement all information before you definitively approve the order.
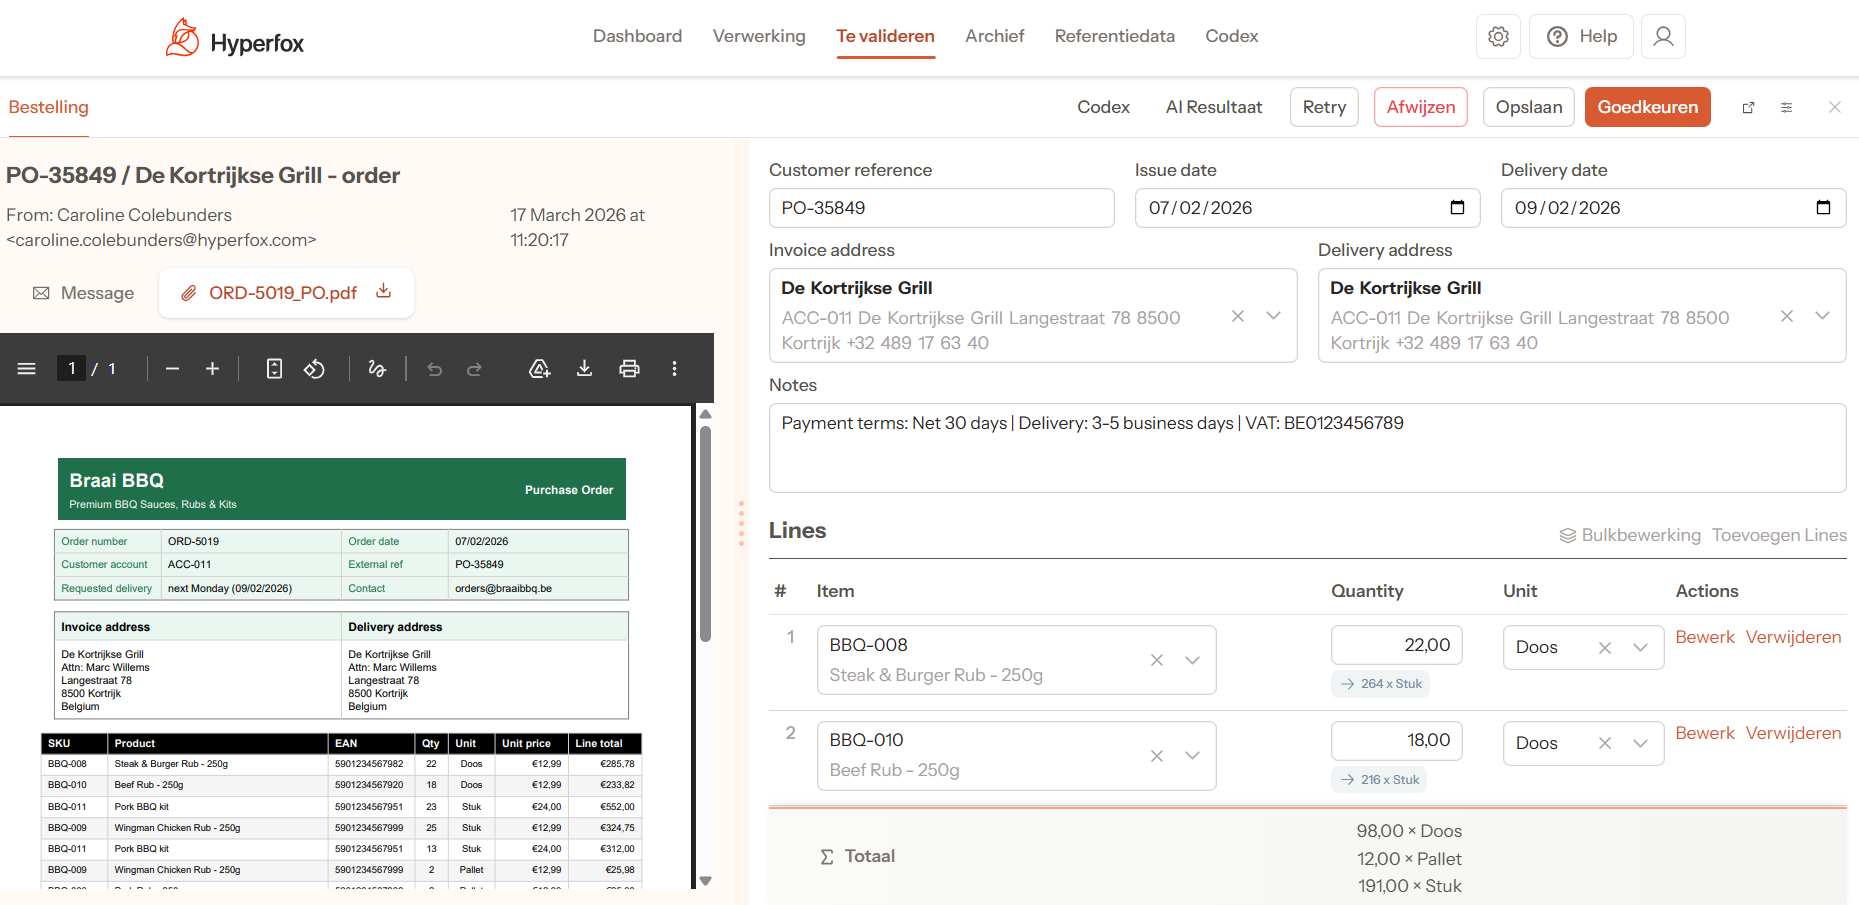
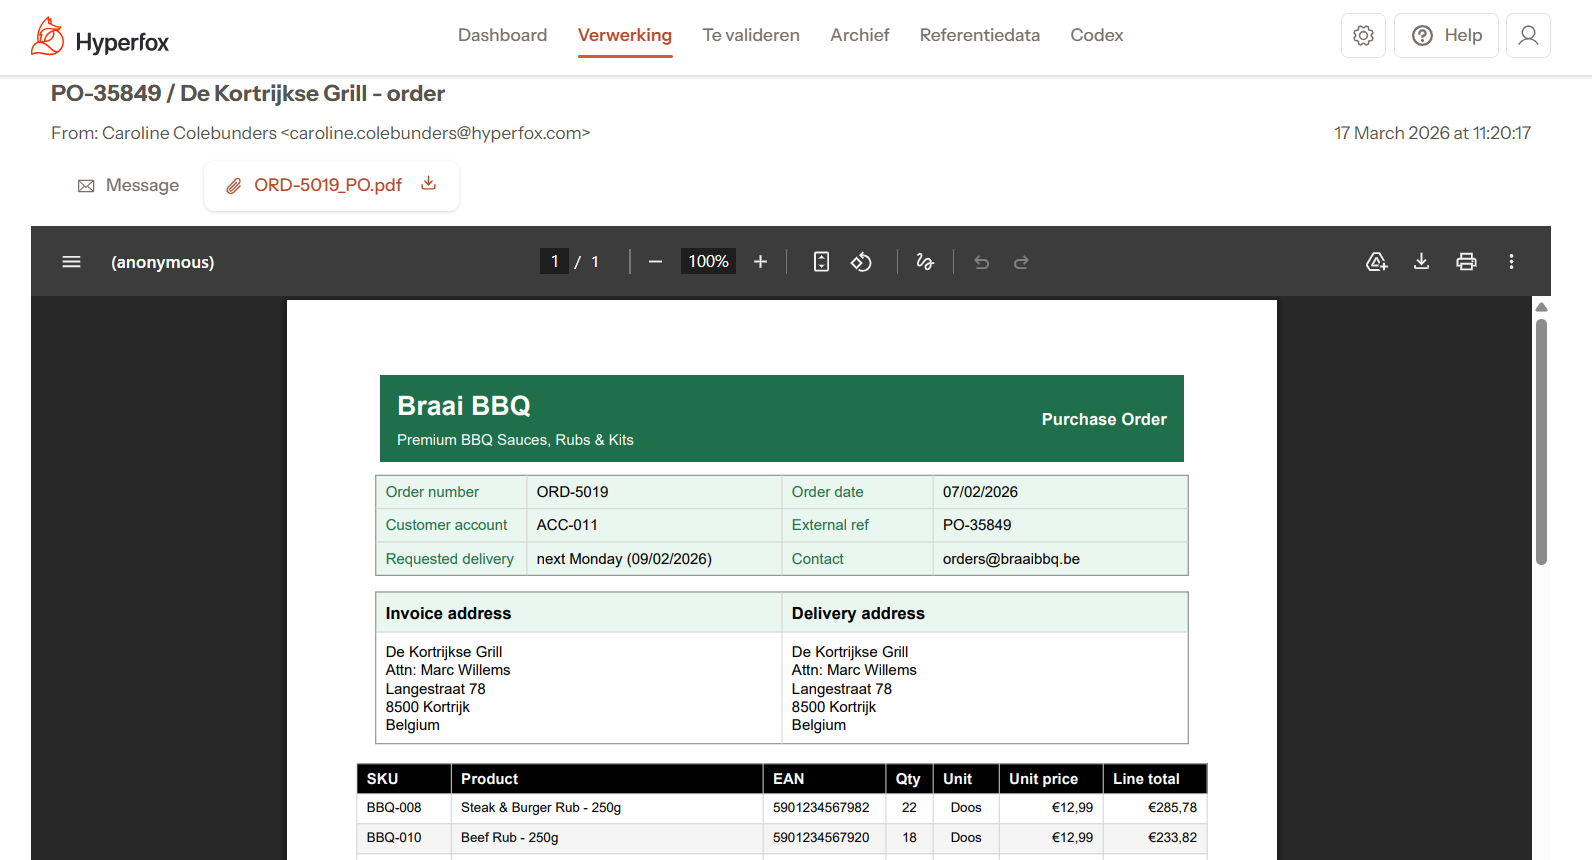
Left side: Order email and attachments
On the left side you will see:
- The original order email, as it was submitted by the customer.
- Any attachments (e.g. PDFs, Word documents, Excel files or images).
This information helps you compare the data captured by the AI with the original source.
Right side: Order data (captured by AI)
On the right side you will see the order data recognised and filled in by Hyperfox. You can check each section and adjust if necessary.
- Click "Retry" to have the order reprocessed by the AI.
- Click "Reject" to remove the order.
- Click "Save" to save changes and process the order later.
- Click "Approve" to send the order to the ERP.
- Click the "x" icon to close this page and return to the overview of orders to validate.

Only when you click "Approve" is the order information added to the Codex.
Click "Codex" to review which order information has already been saved in the Codex for this customer.
Right side: Adjust screen size
On the right side you will see icons that allow you to adjust your screen.
- Open attachment(s): Click the icon to open the attachment(s) in a separate browser window.

- Shrink/enlarge screen: Click the icon to shrink or enlarge your screen as desired.


Section 1: Customer
Here you will find the core information of the order:
- Customer reference: the reference provided by the customer (external customer reference).
- Issue date: the date on which the order was received.
- Delivery date: the requested or specified delivery date.
- Invoice address: the billing address.
- Delivery address: the delivery address.
All fields are editable in case the AI has not interpreted something correctly.
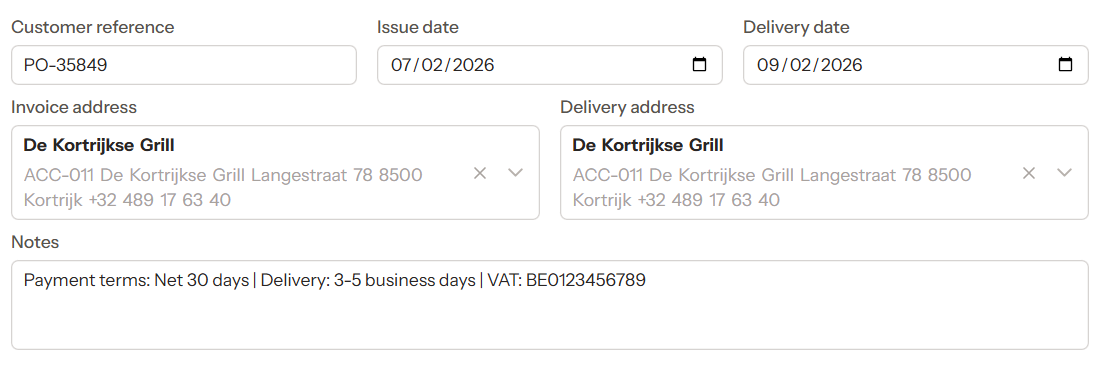
Section 2: Notes
In this field you can:
- Add your own notes for internal use.
- View notes that Hyperfox has automatically extracted from the email, if present.

Section 3: Order lines
Here you will see all individual order lines as captured by the AI.
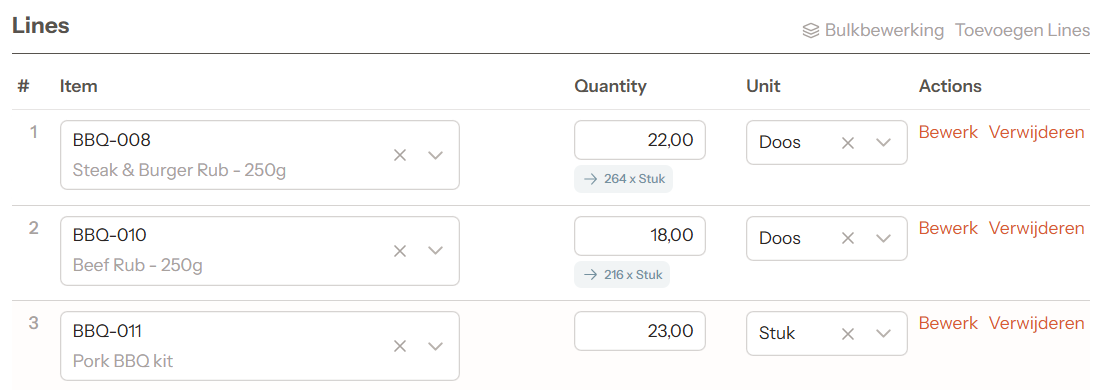
Adding order lines:
Click "Add Lines" to add an order line.

For each line you can:
- Edit Item, Quantity and Unit directly in the respective field.
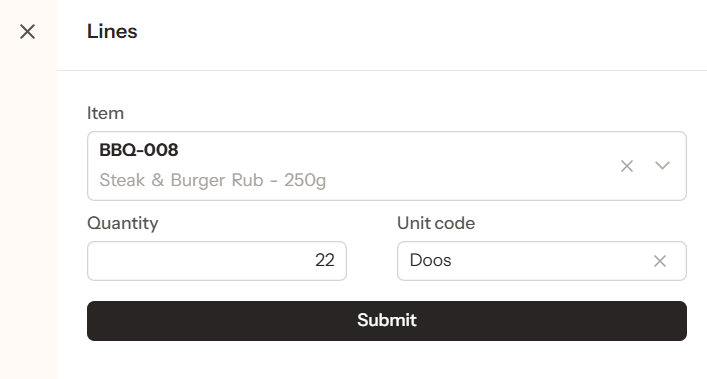
- Click "Edit": opens a pop-up where you can adjust or supplement the necessary information. Click "Submit" to apply the changes to the selected order line.
- Click "Delete" to remove the entire order line from the order.
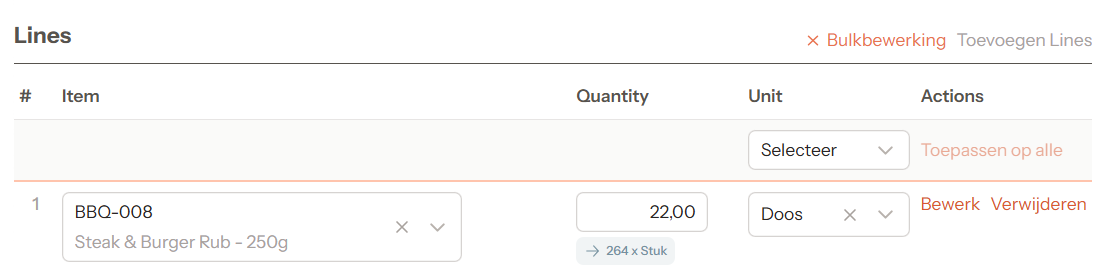
Bulk editing order lines:
Click "Bulk Edit" to adjust the unit for all order lines. Click "Apply to All" to apply the change.
This section provides full control over the contents of the order, so you can determine exactly what is sent to the ERP.
6. Overview of the "Archive" screen
In the Archive, all previously processed orders are displayed. This screen provides you with a historical overview of all orders that have already been handled.
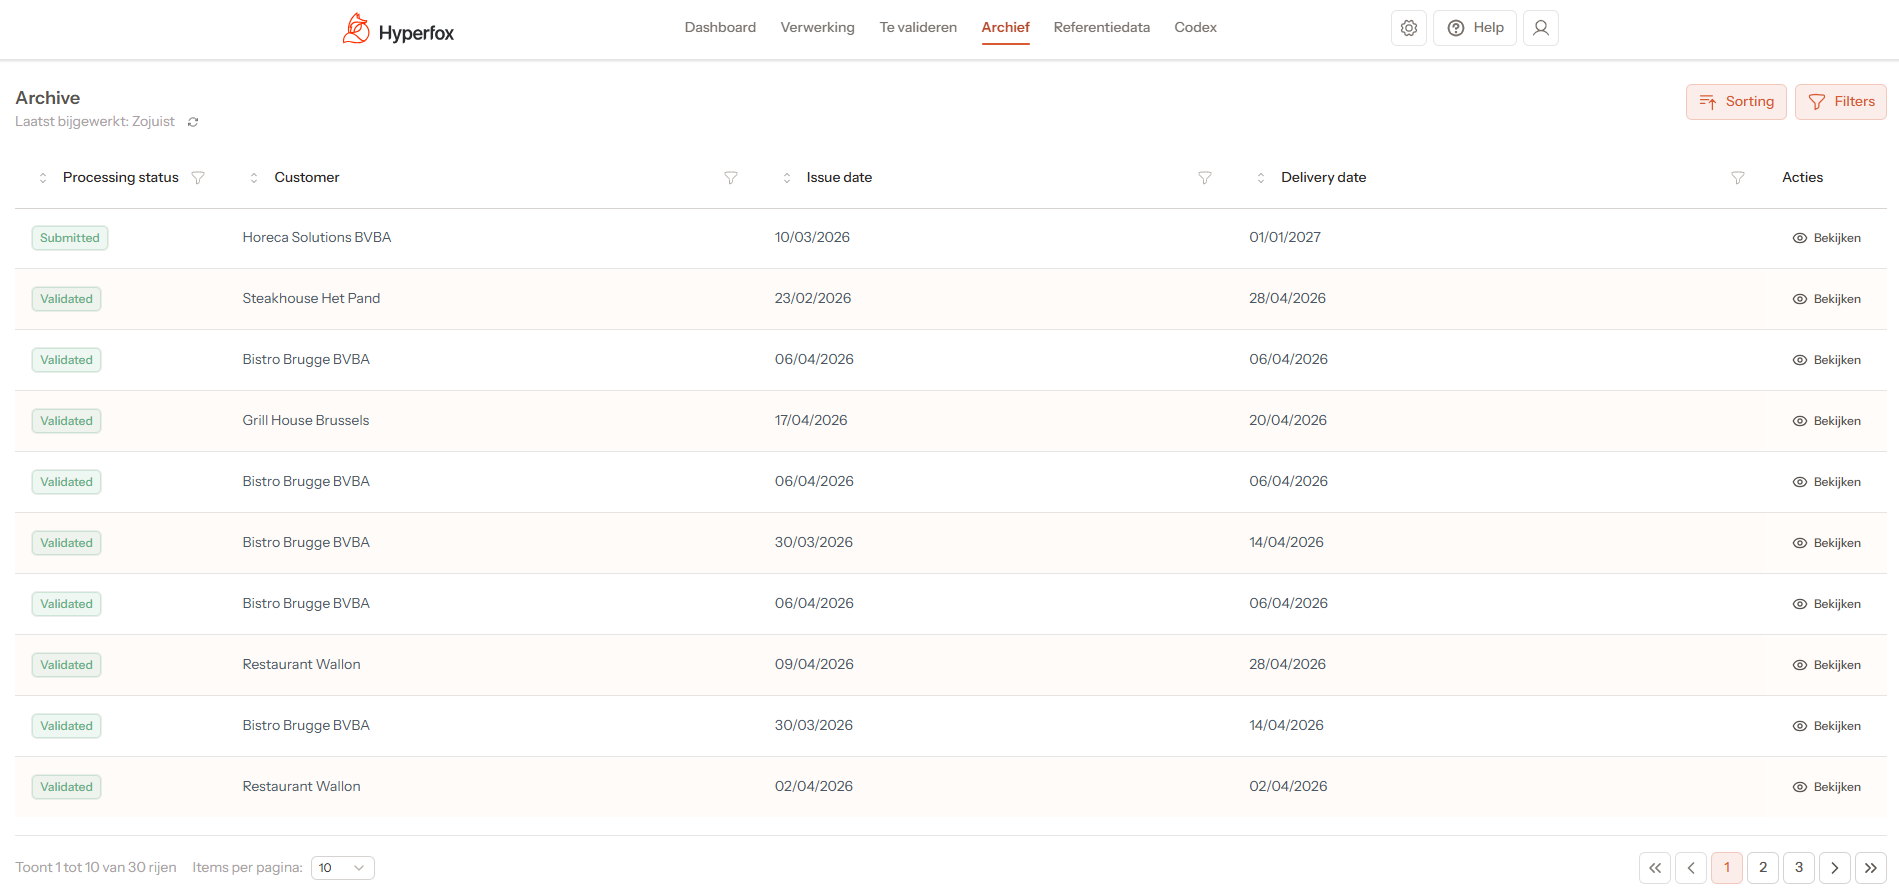
What you can do in the Archive:
- Filters and sorting — Just like in the To Validate screen, you can filter and sort the list by date, customer, status, and more. This helps you quickly find specific orders.
- View processed orders (read-only) — By clicking "View" you open a detailed, read-only view of the respective order.
7. Overview of order statuses
The table below describes which status an order receives after performing a specific action in the system, and to which tab in Hyperfox the order is moved.
| Action | Status | Tab | Description |
|---|---|---|---|
| Forwarded | Ready for Processing | Processing | Order is forwarded to Hyperfox for processing |
| Processed by AI | Pending Validation | To Validate | Order processed by the AI and ready to be validated |
| Retry | Pending Validation | To Validate | Retry - Order resubmitted for processing |
| Reject | Rejected | Archive | Order rejected and permanently archived |
| Save | Saved | To Validate | Order saved without further steps |
| Approve | Validated | Archive | Order validated and sent to ERP |
| Completed | Completed | Archive | Order has been sent to ERP |
8. Overview of the "Codex" screen
In the Codex, the system builds context for the AI: it collects and reuses information from previously validated orders, including your corrections. This way the system "learns" what is important and automatically applies this to future orders.
This context works as a kind of memory that the AI uses to process future orders more consistently.
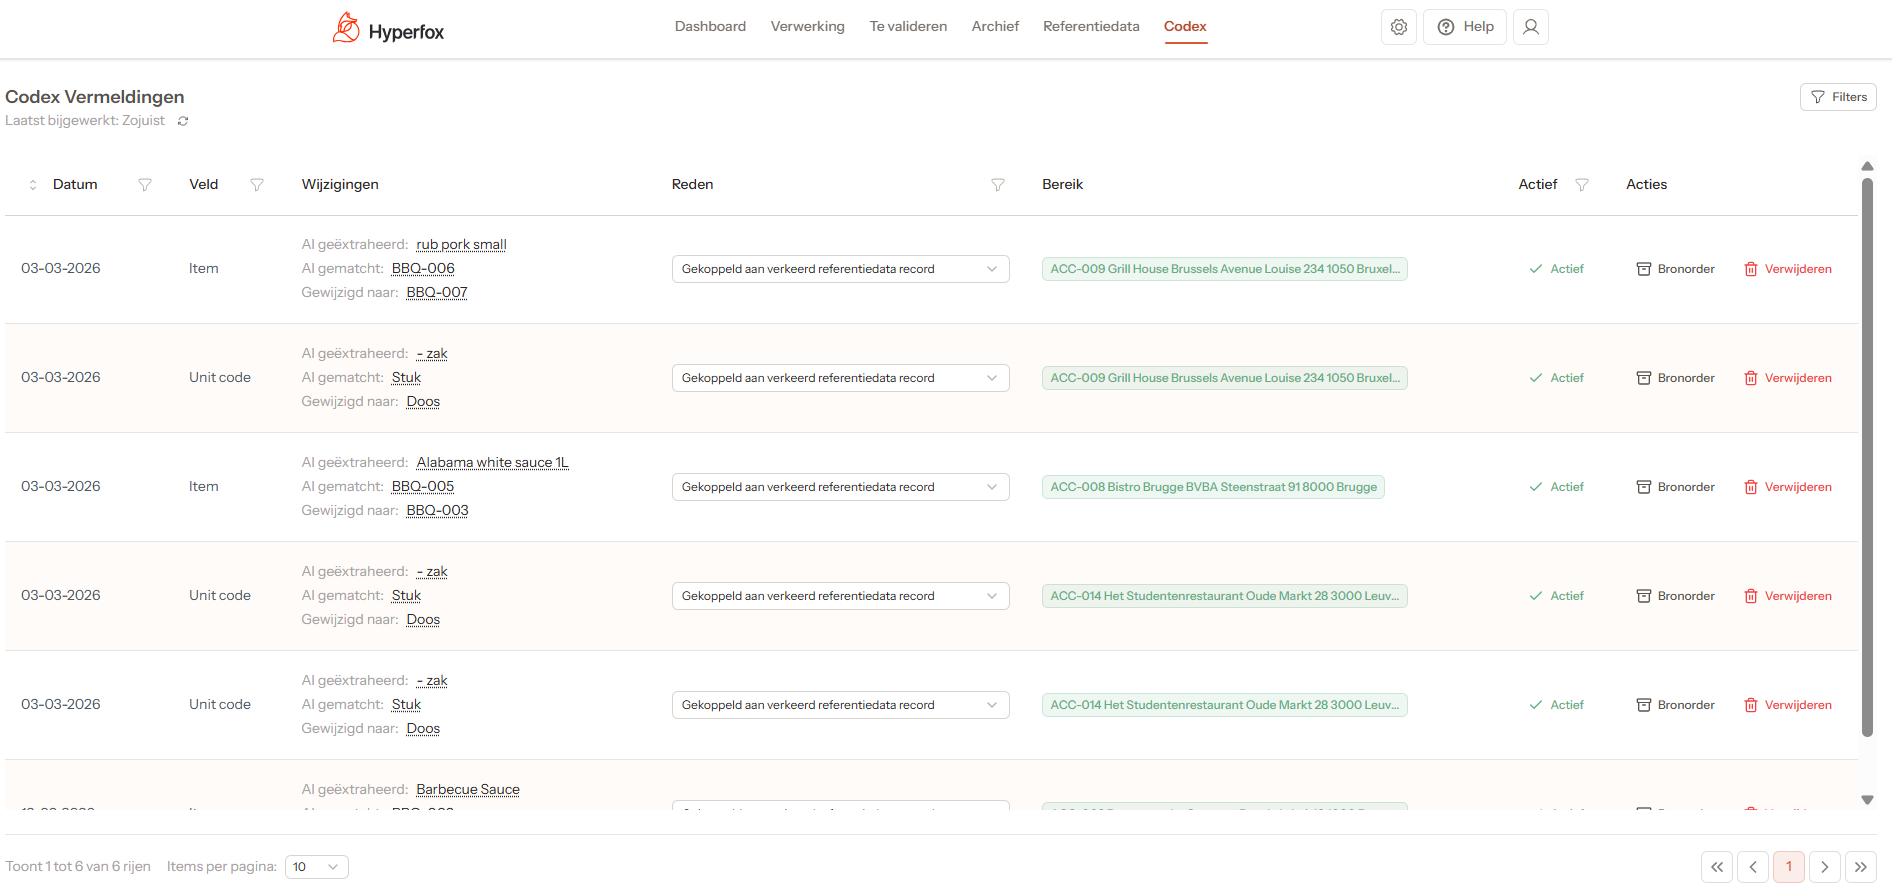
What you see on this screen:
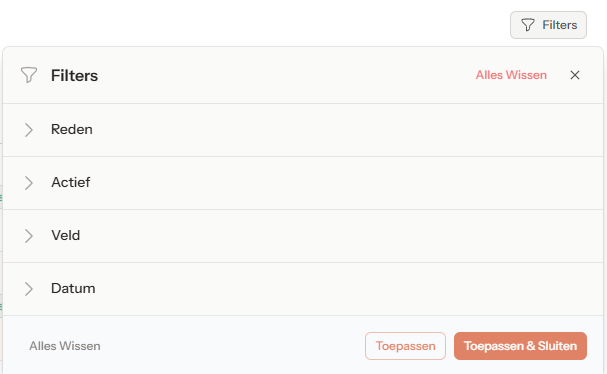
- Filter options (top right) — You can refine the list by reason, field, date, and more.
- Overview of stored order data in the Codex, with the ability to (de)activate a specific rule, view the source order, and delete it.
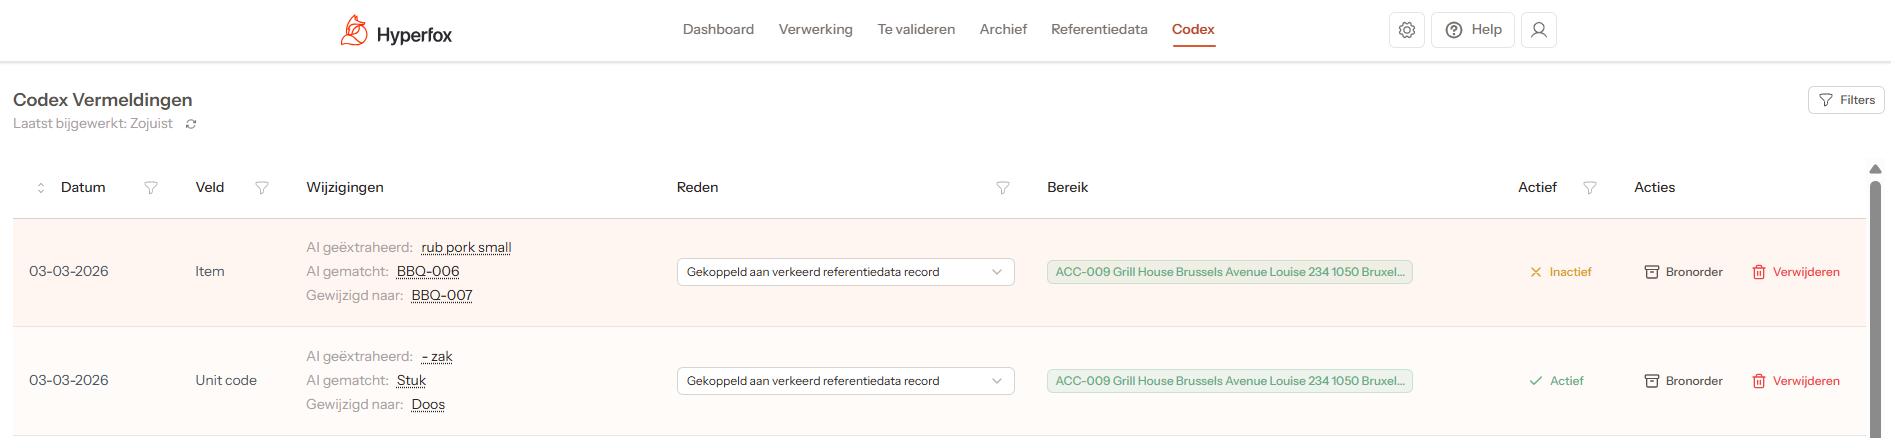
- Click "Active" to deactivate a Codex rule.
- Click "Inactive" to reactivate a Codex rule.
- Click "Source Order" to open the associated validated order.
- Click "Delete" to permanently delete a rule.
9. Settings
You can adjust the following settings in your profile in Hyperfox:
- Language: select the desired language via the icon below.
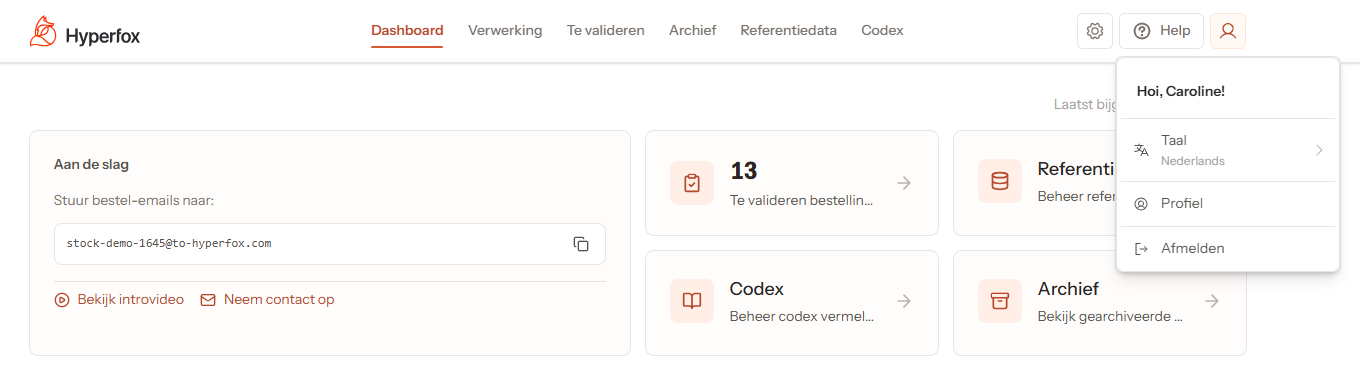

10. Logging out of Hyperfox
You can log out of Hyperfox by clicking "Log Out" via the icon below.